
Build 32 square foot whiteboards for your FTC/FRC team for less than $40
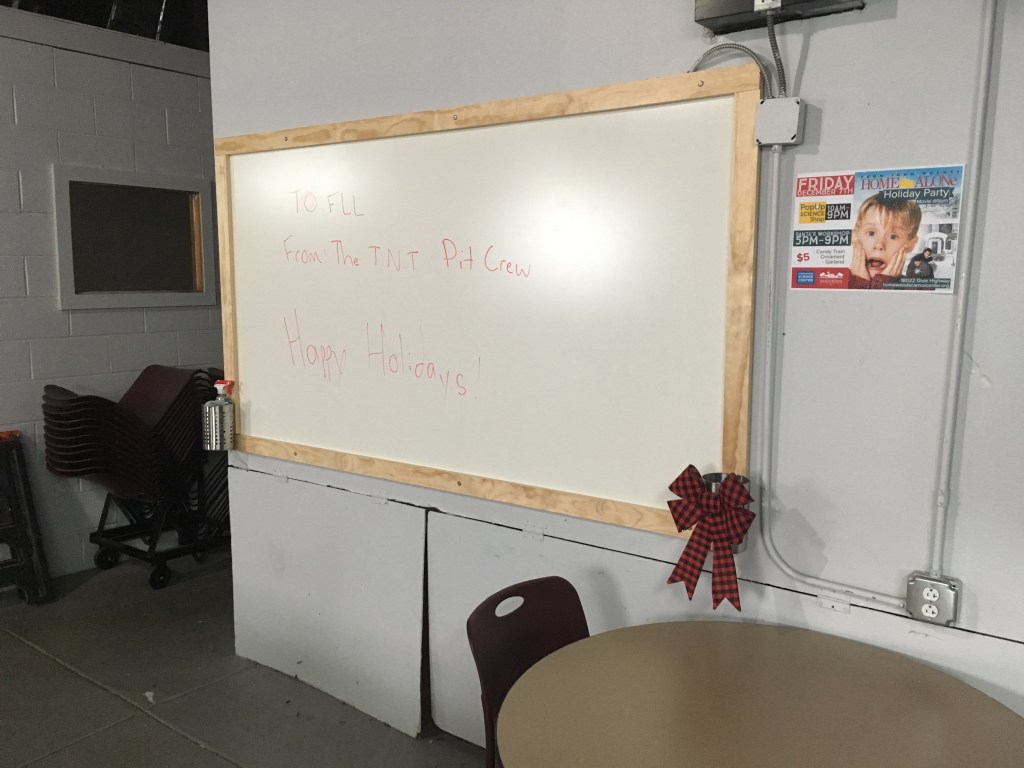
If you need a space to draw new designs, write lengthy lists, create in depth check-lists, or simply draw funny pictures, look no further than these cheap, easy to build white boards. Once our team really got going with prototyping and designing, we quickly realized that we needed a place to capture our ideas. Once this realization took place, I had an immediate flashback. I remembered that my dad once had a work meeting in our basement and needed a whiteboard in a pinch. He ran out to the local hardware store to pick up some tile-board, and it worked like a charm. With this in mind, the team created a more polished version of this cheap whiteboard to use in our workshop. Below is what we came up and have been using for years.
Bill of Materials
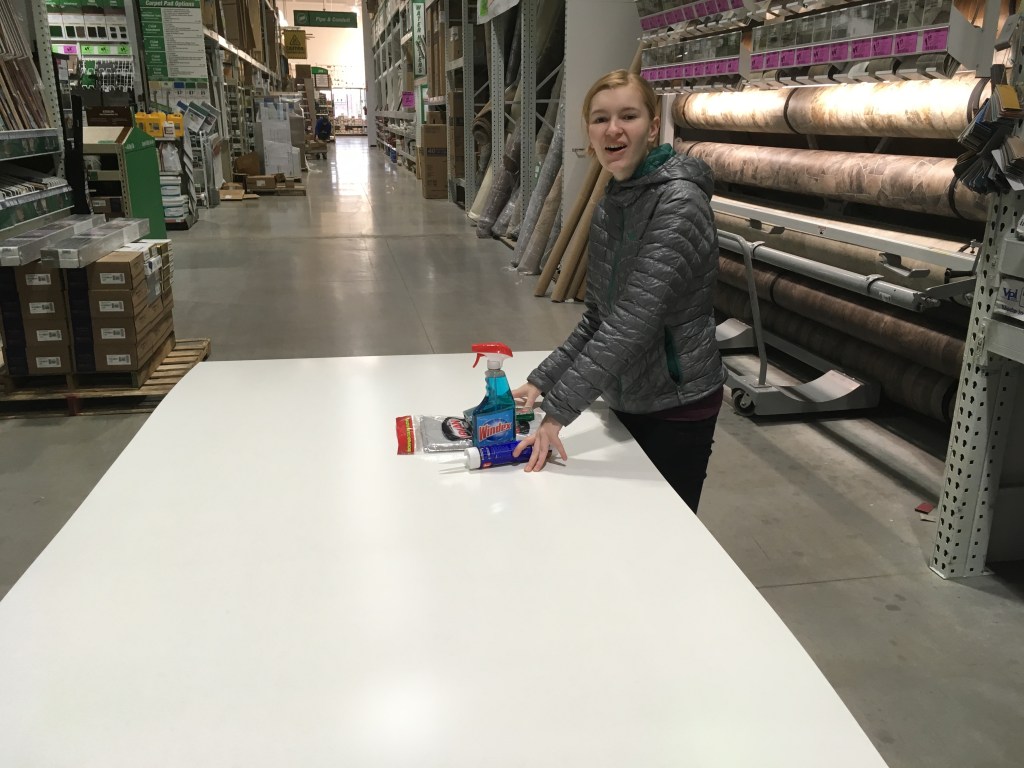
Qty 1 – 4’ x 8’ White Masonite Wall Panel (Sometimes called “tile-board”) – $12 – $15
- Menards – https://www.menards.com/main/paint/paneling-planking/paneling/dpi-trade-4-x-8-flat-smooth-white-melamine-wall-panel/300/p-1444428733772-c-8168.htm
- Home Depot – https://www.homedepot.com/p/EUCATILE-32-sq-ft-96-in-x-48-in-Hardboard-Thrifty-White-Tile-Board-HDDPTW48/205995949
- Lowes – https://www.lowes.com/pd/47-75-in-x-7-98-ft-Smooth-White-Hardboard-Wall-Panel/3015239
Qty 3 – 1 x 3 x 8’ Pine Board. Depending on quality you want, and if you have scrap, $0-$15
Qty 1 – Panel Adhesive (Loctite Power-Grab, PL/200, etc) – $5

- 1/2” – 5/8” flathead wood screws (for fastening through panel into 1 x 3 frame)

- 2-2 1/2” flathead screws, finish washers – optional (for fastening through 1 x 3 into studs on wall, or into anchors on masonry/concrete walls)
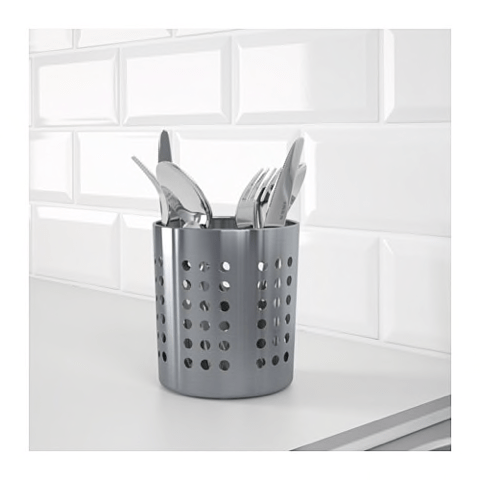
We use the following $3 utensil holders from Ikea to hold erasers, markers and Windex – we just screw them into the pine frame through the holes that already exist with a fender washer to add more support:
https://www.ikea.com/us/en/catalog/products/30011832/
Whiteboard erasers work – for cleaning use microfiber cloths + Windex.
For an even cheaper solution, you can leave off the frame and simply screw the tile board to the wall. We’ve done this in other cases, and have used white painted washer headed cabinet screws for a nice, neat install:

Instructions
- First you have to cut the board for the frame. If you are building a 4×8 board, use the two 8-foot long boards for the top and bottom, and cut two 43 inch boards (48 inches minus 2 times the width of your frame boards, for 1x3s, that’s 5″) to slot in between the 8 foot boards.
- Use the panel adhesive to attach the pine board to the tile-board. The edges of the pine board should be flush with the edges of the tile-board
- From underneath the whiteboard use the smaller flathead screws to fasten the boards through the tile-board
- Step back and admire your work. If you are working with someone, give them a high five.
- Attach to structure. Our workshop has concrete so we were able to drill right through the pine board and into the wall using screws that were meant to be fastened to concrete. It helps to have someone hold the board where you want it. (Make sure your walls are clear before fastening the whiteboard to avoid holes in the board.)
- Step back and bask in the glory of your new white board. Now it’s time for full on fist-bumps!
